

This guide installs latest Nginx, MariaDB, and PHP packages for a LEMP stack on Debian and Ubuntu.
Updated July 6, 2026: PHP 8.5 and MariaDB 12.3 LTS.
#Introduction
When Debian prepares a new stable release, it uses a freeze policy. Package versions are locked near release time, and they usually stay on that major version for the life of the release. Some packages get newer builds through Debian backports, but many do not.
That is fine for a lot of servers. For web apps that care about newer Nginx, MariaDB, or PHP features, it can be annoying. This guide uses trusted third-party repositories for those components while keeping the rest of the system on Debian or Ubuntu packages.
#1. Prerequisites
Use Debian Stable or oldstable. Debian sid is not supported here. On Ubuntu, use an Ubuntu LTS release rather than an interim release.
The commands below use sudo. If you prefer a root shell, run sudo -i first and drop sudo from the commands.
Update the system and install the tools needed to add APT repositories:
sudo apt update -y
sudo apt upgrade -y
sudo apt full-upgrade -y
sudo apt install curl vim wget gnupg dpkg apt-transport-https lsb-release ca-certificates -y
#2. Install Nginx
N.WTF syncs official Nginx source and packaging, then builds it with a current OpenSSL version.
##2.1 Add GPG key
curl -sS https://n.wtf/public.key | sudo gpg --dearmor -o /usr/share/keyrings/n.wtf.gpg
##2.2 Add repository
echo "deb [arch=$(dpkg --print-architecture) signed-by=/usr/share/keyrings/n.wtf.gpg] https://mirror-cdn.xtom.com/sb/nginx/ $(lsb_release -sc) main" | sudo tee /etc/apt/sources.list.d/n.wtf.list
On Debian, extrepo can add the same repository:
sudo apt install extrepo -y
sudo extrepo enable n.wtf
##2.3 Update system and install Nginx
sudo apt update
sudo apt install nginx-extras -y
Check that Nginx was installed:
root@debian ~ # nginx -v
nginx version: nginx-n.wtf/1.31.2
#3. Install PHP
Use PHP packages from Ondřej Surý, who maintains widely used PHP builds for Debian and Ubuntu.
##3.1 Add GPG key and repository
sudo wget -O /usr/share/keyrings/deb.sury.org-php.gpg https://packages.sury.org/php/apt.gpg
echo "deb [arch=$(dpkg --print-architecture) signed-by=/usr/share/keyrings/deb.sury.org-php.gpg] https://packages.sury.org/php/ $(lsb_release -sc) main" | sudo tee /etc/apt/sources.list.d/php.list
Ondřej Surý rotates this GPG key roughly every two years. If apt update starts failing with a signature error, re-run the wget command above to fetch the current key.
On Debian, you can also use extrepo instead:
sudo extrepo enable sury
##3.2 Install specific PHP version
Avoid installing broad php-* packages directly. They may pull a PHP version your application does not expect.
After adding the repository, update APT:
sudo apt update
Then install one specific PHP version and the extensions you need. This extension set works for a typical WordPress site:
Install PHP 8.5 (Opcache is enabled by default in PHP 8.5):
sudo apt install php8.5-{fpm,cli,mysql,curl,gd,mbstring,xml,zip,imap,soap,gmp,bcmath} -y
Install PHP 8.4
sudo apt install php8.4-{fpm,cli,mysql,curl,gd,mbstring,xml,zip,imap,opcache,soap,gmp,bcmath} -y
Install PHP 8.3
sudo apt install php8.3-{fpm,cli,mysql,curl,gd,mbstring,xml,zip,imap,opcache,soap,gmp,bcmath} -y
Install PHP 8.2
sudo apt install php8.2-{fpm,cli,mysql,curl,gd,mbstring,xml,zip,imap,opcache,soap,gmp,bcmath} -y
The PHP versions below are EOL and are no longer officially supported.
Install PHP 8.1
sudo apt install php8.1-{fpm,cli,mysql,curl,gd,mbstring,xml,zip,imap,opcache,soap,gmp,bcmath} -y
Install PHP 8.0
sudo apt install php8.0-{fpm,cli,mysql,curl,gd,mbstring,xml,zip,imap,opcache,soap,gmp,bcmath} -y
Install PHP 7.4
sudo apt install php7.4-{fpm,cli,mysql,curl,gd,mbstring,xml,zip,imap,opcache,soap,gmp,bcmath} -y
Install PHP 7.3
sudo apt install php7.3-{fpm,cli,mysql,curl,gd,mbstring,xml,zip,imap,opcache,soap,gmp,bcmath} -y
Install PHP 7.2 (mcrypt was deprecated in PHP 7.1 and removed from core in 7.2)
sudo apt install php7.2-{fpm,cli,mysql,curl,gd,mbstring,xml,zip,imap,opcache,soap,gmp,bcmath} -y
Install PHP 7.1
sudo apt install php7.1-{fpm,cli,mysql,curl,gd,mbstring,mcrypt,xml,zip,imap,opcache,soap,gmp,bcmath} -y
Install PHP 7.0
sudo apt install php7.0-{fpm,cli,mysql,curl,gd,mbstring,mcrypt,xml,zip,imap,opcache,soap,gmp,bcmath} -y
Install PHP 5.6
sudo apt install php5.6-{fpm,cli,mysql,curl,gd,mbstring,mcrypt,xml,zip,imap,opcache,soap,gmp,bcmath} -y
Search for any other PHP extensions your application needs:
apt search php8.5-*
Next, adjust the matching php.ini file:
- For PHP 8.5, edit
/etc/php/8.5/fpm/php.ini. - For PHP 7.4, edit
/etc/php/7.4/fpm/php.ini. - For another version, change the version number in the path.
For PHP-FPM, disable cgi.fix_pathinfo:
This avoids an old class of path handling problems when Nginx passes requests to PHP-FPM.
sudo sed -i 's/;cgi.fix_pathinfo=1/cgi.fix_pathinfo=0/' /etc/php/8.5/fpm/php.ini
Adjust upload and post limits:
Change upload_max_filesize and post_max_size if your application needs larger uploads:
sudo sed -i 's/upload_max_filesize = 2M/upload_max_filesize = 10M/' /etc/php/8.5/fpm/php.ini
sudo sed -i 's/post_max_size = 8M/post_max_size = 10M/' /etc/php/8.5/fpm/php.ini
If you install multiple PHP versions, choose the default CLI version with:
sudo update-alternatives --config php
Restart PHP-FPM after editing its configuration:
sudo systemctl restart php8.5-fpm
Now add an Nginx site configuration.
Create a new configuration file for your site under /etc/nginx/sites-available/:
sudo bash -c 'cat > /etc/nginx/sites-available/example.com.conf << EOF
server {
        listen 80;
        listen [::]:80;

# Web root, I recommend using /var/www
        root /var/www/example.com;
        index index.php index.html index.htm;

# Replace example.com with your domain name
        server_name example.com;

        location / {
            try_files \$uri \$uri/ =404;
        }

# Enable PHP 8.5-FPM. For PHP 7.4, use fastcgi_pass unix:/run/php/php7.4-fpm.sock;
        location ~ \.php$ {
            include snippets/fastcgi-php.conf;
            fastcgi_pass unix:/run/php/php8.5-fpm.sock;
        }
}
EOF'
Link it into /etc/nginx/sites-enabled:
sudo ln -s /etc/nginx/sites-available/example.com.conf /etc/nginx/sites-enabled/example.com.conf
Test the configuration and reload Nginx:
sudo nginx -t
sudo nginx -s reload
Create /var/www/example.com and make www-data the owner:
sudo mkdir -p /var/www/example.com
sudo chown www-data:www-data /var/www/example.com -R
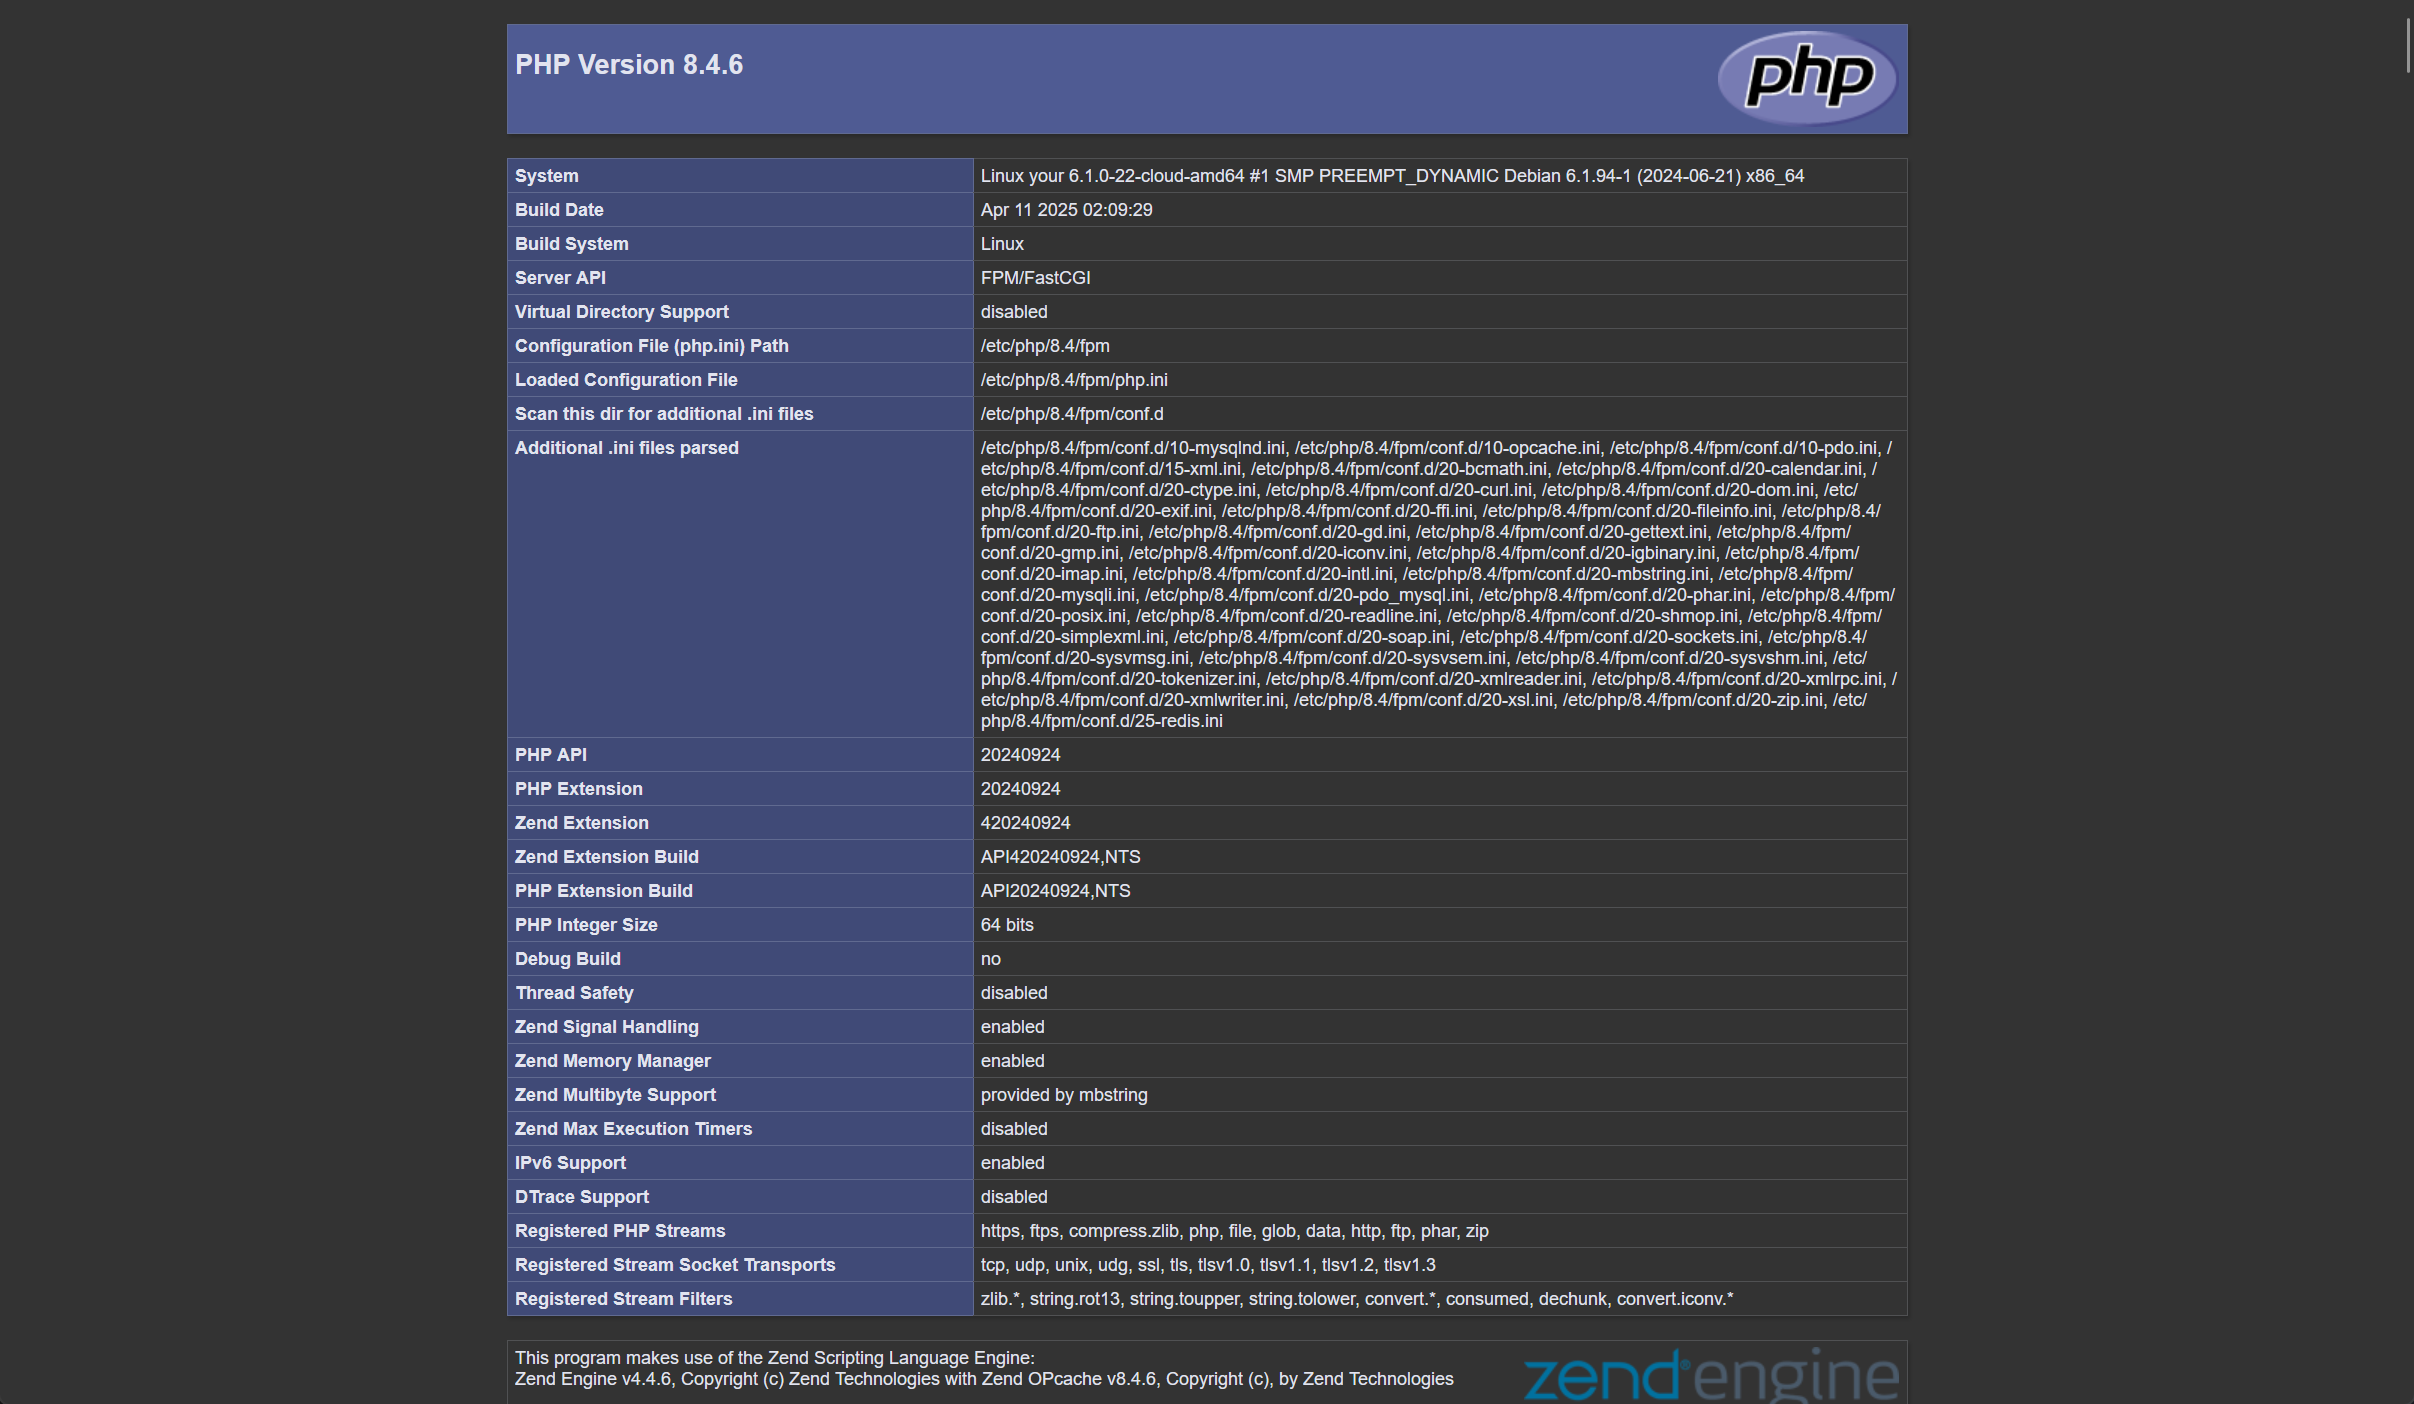
Create phpinfo.php to test PHP:
sudo -u www-data bash -c 'cat > /var/www/example.com/phpinfo.php << EOF
<?php phpinfo(); ?>
EOF'
Visit http://example.com/phpinfo.php after the A or AAAA DNS records for example.com point to this server.
#4. Install MariaDB
This setup uses MariaDB instead of MySQL for historical and licensing reasons.
##4.1 Add GPG key
curl -sSL https://supplychain.mariadb.com/MariaDB-Server-GPG-KEY | sudo gpg --dearmor -o /usr/share/keyrings/mariadb.gpg
##4.2 Add repository
Debian:
echo "deb [arch=$(dpkg --print-architecture) signed-by=/usr/share/keyrings/mariadb.gpg] https://dlm.mariadb.com/repo/mariadb-server/12.3/repo/debian $(lsb_release -sc) main" | sudo tee /etc/apt/sources.list.d/mariadb.list
Or use extrepo:
sudo extrepo enable mariadb-12.3
Ubuntu:
echo "deb [arch=$(dpkg --print-architecture) signed-by=/usr/share/keyrings/mariadb.gpg] https://dlm.mariadb.com/repo/mariadb-server/12.3/repo/ubuntu $(lsb_release -sc) main" | sudo tee /etc/apt/sources.list.d/mariadb.list
##4.3 Install MariaDB
sudo apt update
sudo apt install mariadb-server mariadb-client -y
After installing MariaDB, run sudo mariadb-secure-installation if you want to set a root password and apply the usual basic hardening prompts.
##4.4 Create database and test
Before creating a database, generate a random password. The openssl command works well:
openssl rand -hex 16
Or
openssl rand -base64 16
Or install pwgen:
sudo apt install pwgen -y
pwgen 16
Log in to MariaDB as root. By default, local root login uses Unix socket authentication, so you do not need a MariaDB root password:
sudo mariadb
Create an example database called example_database:
CREATE DATABASE example_database DEFAULT CHARACTER SET utf8mb4 COLLATE utf8mb4_unicode_ci;
Create an example user example_user and grant permissions:
GRANT ALL ON example_database.* TO 'example_user'@'localhost' IDENTIFIED BY 'Your_Powerful_Strong_Password';
FLUSH PRIVILEGES;
Exit MariaDB:
EXIT;
Create mysql-test.php in /var/www/example.com:
sudo -u www-data tee /var/www/example.com/mysql-test.php > /dev/null << 'EOF'
<?php
$dbname = 'example_database';    //MySQL database
$dbuser = 'example_user';   //MySQL user
$dbpass = 'Your_Powerful_Strong_Password';
$dbhost = 'localhost';  //use localhost if you install locally
$link = mysqli_connect($dbhost, $dbuser, $dbpass) or die("Unable to Connect to '$dbhost'");
mysqli_select_db($link, $dbname) or die("Could not open the db '$dbname'");
$test_query = "SHOW TABLES FROM $dbname";
$result = mysqli_query($link, $test_query);
$tblCnt = 0;
while($tbl = mysqli_fetch_array($result)) {
  $tblCnt++;
  #echo $tbl[0]."<br />\n";
}
if (!$tblCnt) {
  echo "MySQL is working fine. There are no tables.";
} else {
  echo "MySQL is working fine. There are $tblCnt tables.";
}
?>
EOF
The quoted 'EOF' delimiter keeps the shell from touching anything inside, so the PHP lands on disk exactly as written.
Visit http://example.com/mysql-test.php to verify the database connection.
If the page shows MySQL is working fine. There are no tables., PHP can connect to MariaDB.
Once both tests pass, delete the test files. mysql-test.php has your database password in it, and neither belongs on a public web root:
sudo rm /var/www/example.com/phpinfo.php /var/www/example.com/mysql-test.php